Categories
Featured Lawn & Garden

Gardening With Nature–Companion Planting

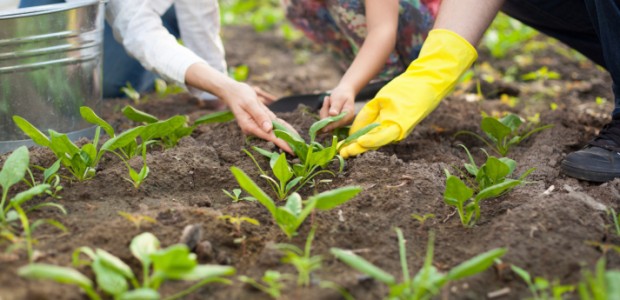
Planning your garden to include a very diverse mix of plants can do more than just add interest to it. If you plant certain types of flowers, herbs, and vegetables together, they will actually enhance the productivity of your garden. Planning a garden so that particular plants are located in proximity to one another is called companion planting. Companion plants repel pests, attract beneficial insects, and enhance the growth and flavor of one another.

Here are some tips for companion planting, so you can make the most of your garden this summer.

1. Basil is a friend to all

Basil is a friend to almost all garden plants. This aromatic herb repels flies, mosquitoes, and thrips. Basil does especially well near oregano, peppers, and tomatoes. Rather than planting long rows of only tomatoes and peppers, plant your rows with peppers, tomatoes, and basil together.

2. Corn loves beans.

Beans are legumes, which mean that they take nitrogen from the air and put it in the dirt. Since corn feeds heavily on nitrogen, plant beans where the corn was grown last year, and the corn where the beans were grown.

3. Garlic and roses make quite a pair.

If you plant garlic near your roses, the garlic will repel aphids and Japanese beetles. In fact, any plant, including fruit trees, that is plagued by Japanese beetles, will be benefited by garlic. Scientists have found that plants’ roots actually take up secretions by the garlic plants and release them through the plants’ pores.

4. Marigold makes sense for all.

Marigold benefits many plants in the garden because the roots of these lovely flowers kill damaging nematodes that may live in the soil. Additionally, the flowers of this plant repel whiteflies and tomato hornworms. The Mexican variety of marigold is rumored to repel rabbits and Mexican bean beetles.

5. Dill can do it!

Dill improves the flavor and production of cabbages, cucumbers, and lettuces. However, it does attract the tomato hornworm, so you shouldn’t plant dill near tomatoes. Dill can repel squash bugs, so you may want to put a few plants in your hills of squash and pumpkins. Dill flowers attract beneficial bugs like predatory wasps to your garden, and the plant is a food source for the larvae of swallowtail butterflies.

6. Lettuces love lots of plants.

Lettuces pair well with beans, beets, broccoli, carrots, and onions. You can also plant lettuces in the shade of tall sunflowers, since lettuce plants do not do well in the blazing heat of summer.

Companion planting can help you avoid using toxic chemicals in the garden by attracting beneficial insects and discouraging invasions of pesky insects that will damage your plants. This planting style works with nature to bring more food to your table and more beauty to your garden.

~April F. 
Categories
Lawn & Garden Recycling

3 Simple Steps to Create Your Own Rain Bucket

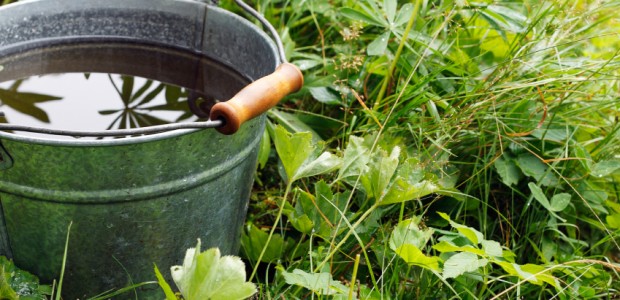
You have heard the old saying “April showers bring May flowers…” but did you realize you can save on your water bill and the environment just by investing in a rain bucket? A rain bucket can be anything you want it to be. Whether you use an old plastic moving tub, a plastic bucket, or even an old garbage pail, you can use those to collect greywater. A type of grey water is rainfall and while you can’t drink rainwater, your plants can certainly use it! You probably won’t collect enough water to water your plants throughout the entire season but it will certainly help keep the soil moist during the hot summer months.

Make sure to put your rain bucket near downspouts, that way the rain buckets can collect the water that lands on the roof. Your roof normally is the largest surface area so you will be able to collect the most water from these areas (a shed can work too!)

It is really easy to make your own rain bucket it just takes a little time and a trip to Lowes or the Home Depot (you might even have some of the materials in your garage!) For this project you are going to need:

1 – 32 Gallon Vinyl Trash can with Lid (preferably)
1 – 1″ PVC Male Hose Adapter
Drill with 1″ Spade Bit
White Caulking Plumbers tape

Step 1.  Once you have found the location you would like to place your rain bucket, measure and cut the downspout above or near the top of the rain bucket. Normally you would cut off part of the down spout so the end sits a little higher than your bucket. Cut a hole in the shape of the downspout near the top of the bucket. You can also cut an overflow hole about the same size on the other side to allow excess water to escape when it’s full.

Step 2. Next, drill a 1″ hole about 3-4 inches from the bottom of the rain barrel. Using some common plumbers tape, wrap the threads of the adapter to keep water from leaking through the hole. Screw adapter from the inside so the threads are exposed to the outside of the Rain.

Step 3. Insert the downspout pipe from the roof into the rain bucket and attach the overflow to the other side. Attach a garden hose to the bottom adapter and caulk around the gaps to ensure the unit is sealed. This is important as mosquitoes would love to nest in your rain barrel (if you don’t have a top for your rain bucket buy mesh netting.) Once everything is connected, fill with water and test. The pressure from the amount of water contained inside the rain bucket will allow you to water your plants without much difficulty.

You are now ready to sustainably water your flowers and vegetable gardens well into summer!

Sources: ezinearticles.com, (http://ezinearticles.com/?Make-a-Rain-Bucket-in-3-Easy-Steps&id=2441701).


Categories
Eco Tips Featured Lawn & Garden Recycling

How to Create a Simple Compost Pile

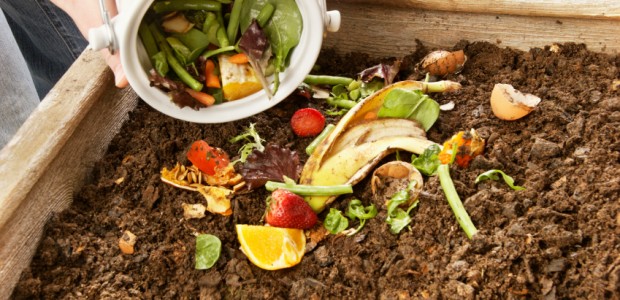
Composting is a wonderful way to reuse kitchen scraps as well as discarded leaves, grass, and garden debris. Combined, these ingredients create a nutrient rich soil that your garden and indoor and outdoor plants will benefit from. There are many different ways you can make and maintain your own compost pile at home.

For inside your home, especially when a backyard is not accessible, you can make a hide-away trash bin in your kitchen to through away table scraps, any leaves you may pick up, newspapers, paper towels, cardboard and any other biodegradable materials you may find. Add water to keep your compost moist but never a watery consistency. It normally takes a couple of weeks for the compost to be ready. Use the compost soil at the bottom of the pile and use it for indoor plants or discard the soil at a local garden center or forest.

If you have a backyard, here are some different ways to create a simple compost pile:

  • For a homemade, standard compost pile, you will need three, five foot 2×4 wood slabs, a spool of mesh or chicken wiring and a staple gun. Cut the 2×4’s in half.  Find a secluded spot in your yard to put your compost pile.  Depending on how big you want your compost pile, measure and mark the area before building.  Once you’ve measured a space, place three pieces of the wood parallel to one another with enough space in between.  Place the mesh wiring on the inside of the wood slabs and then staple them to the wood.  Once assembled, begin composting!
  • If you don’t want to create your own compost pile, you can buy one from a Home Depot or Lowe’s hardware store.  You can also order compost bins online at compostbins.com or goodcompost.com.
Categories
Eco Tips Featured Lawn & Garden

Why Ladybugs Are Great Garden Guests

With spring planting underway there are some major benefits to having bugs in your garden. That’s right you read it right, we said it is a good thing. Of course some insects are worse than others and some are better than others, however a good insect to have in your garden is the ladybug.

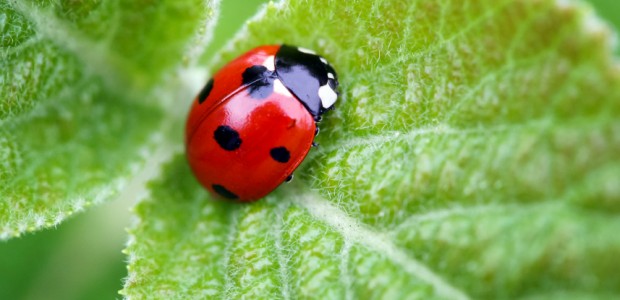
Ladybugs are small beetles that are about ¼ inch in length and are normally red or orange in color with black dots on their shells. Ladybugs can become a nuisance when they attempt to move indoors, however overall these bugs are good for your garden and the environment.

Here are three benefits to having ladybugs in your garden:

Reduce the insect population

Ladybugs are known predatory beetles that eat a very large amount of aphids. Aphids are plant lice and are bad news for your plants. However ladybugs can consume up to 5,000 aphids in their lifetime (about 30-40 a day).

Eliminate your use of pesticides

Since ladybugs eat many of the insects which cause damage to garden plants, a good population of ladybugs will make it unnecessary to use harmful pesticides. It can be a little difficult to get a large population to come to populate your garden but with a few at home gardening tricks (mixing wheat and yeast together and spraying on plants), will help attract lady bugs to your garden.

Make your garden BEAUTIFUL

Ladybugs are beautiful beetles. They are a gorgeous deep color that will add contrast and beauty to your garden. Ladybugs are a lot prettier to look at when compared to worms or slugs.

Sources: steamboattoday.com, (http://www.steamboattoday.com/news/2013/mar/17/deb-babcock-benefits-lady-bugs/)

Categories
Eco Tips Featured Lawn & Garden

3 Green Fertilizer Alternatives

Unfortunately many gardeners rely on chemical fertilizers to grow their trees, grass, flowers, fruits and vegetables. However in recent years there has been an increase in awareness about the amount of chemicals we use in our yards and how it can negatively impact the environment and our friends and family in the long run.

Thankfully with the “green” movement there has been an increase in number of healthy, natural and organic fertilizers.  Here are 3 natural garden fertilizer alternatives to chemical fertilizers.

Bat Guano

Bat guano is the ultimate 100 percent natural fertilizer. It comes straight from the butts of bats, into your yard or garden. Farmers and gardeners have used bat guano as a fertilizer for hundreds of years. It wasn’t until recently that inorganic fertilizers have become popular enough for people to forget that there is a natural option that works just as well! The manufacturers of this product state that they follow the high standards of Bat Conservation International, so you can feel good about buying this natural garden and bat-friendly fertilizer.  Bat Guano works great as a soil builder and fertilizer.

Fish Meal Organic Fertilizer

Like bat guano, fish meal is a natural organic fertilizer that was traditionally used by gardeners and farmers before the advent of inorganic fertilizers. Fish meal contains important trace elements, which makes it a complete plant food. Fish meal works quickly and provides plenty of phosphorous and organic nitrogen.

Kelp Meal Fertilizer

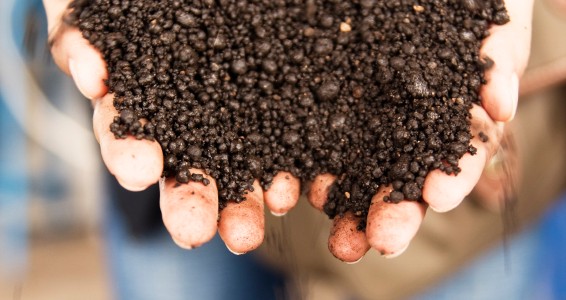
Kelp meal fertilizer is made from brown seaweed harvested from cold ocean waters. Once harvested, the kelp is dried and ground up to produce an excellent organic fertilizer. The dried kelp maintains a high content of plant growth hormones, essential minerals and organic material. An added benefit is that kelp meal provides a slow, sustained release of nutrients. Organic kelp fertilizers are fully approved for organic gardening. They work great for flowers, trees, and your lawn.

Sources: sustainablog.com, (http://sustainablog.org/2008/05/low-impact-living-twelve-tips-for-eco-friendly-lawn-care/), extremelygreen.com, (http://www.extremelygreen.com/fertilizerguide.cfm).

Categories
Featured Lawn & Garden

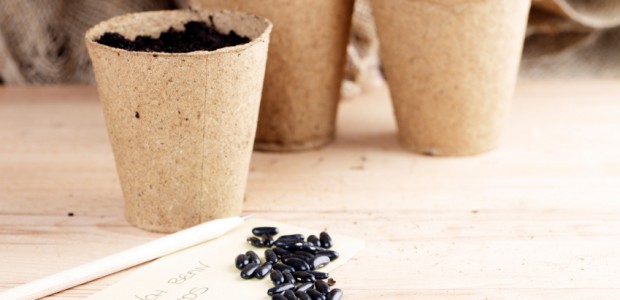
How to Make Your Own Biodegradable Pots

 For many years, the primary packing system for seedlings, are plastic packs of four to twelve containers. The plastic is petroleum based in makeup and automatically makes them a disposable, but not biodegradable product. Nor are they the best way to guarantee that all the plants you purchase would survive and grow. Despite drainage holes, these containers promote root rot through poor air circulation and often many of the plants in these packs do not survive.

Some manufacturers have started to make biodegradable planting pots. These plant containers such consist of wood fiber and peat moss and no drainage holes are necessary and the pot disintegrates into the soil. These pots not only make gardening easy for you (it is not necessary to remove the plant from the plastic pot and re-transplant) but they are better for the environment. Read on to learn how to make your own biodegradable pots at home.

How to Make Your Own Biodegradable Pots

  • Take a tin can, a small plant-pot, or even the inner cardboard tube from a roll of toilet paper, and, folding one sheet of newspaper in half length-ways, wrap it around the can or pot, leaving enough paper at the bottom so that you can fold or tuck it in to make a floor for your pot.
  • Still holding the newspaper, sit the pot upright and remove the can or tube from inside. Using your fingers, or a pencil, press down the folded paper bottom and tip a little bit of compost in to ensure your new biodegradable pot holds its shape, but keep hold of the outside in case it starts to unravel.
  • Now fold down the top, making sure that you fold over the ends of the paper to stop it springing loose. As soon as it holds, pour in more compost up to a couple of centimeters from the top.
  • Place the pot on a tray and gently moisten the soil. You can crowd lots of other makeshift pots around it for additional support and to help retain moisture.
  • Now you’re ready to plant your seed. Leave the tray on a warm, sunny windowsill and you should start to see little green shoots appearing in a matter of days.
  • As soon as the seedlings are big enough (follow the instructions on the packet), you can start hardening them off by taking them outside for the day, and bringing them in at night for about a week before you plant them out. If the seedlings are going directly into a pot inside, you can move them as soon as they are a few inches tall. Do be aware though that plants do grow very quickly in these early stages and you’ll need a larger pot than you think (especially if you’re growing mint, which tends to spread!).

(Instructions courtesy of pledgingforchange.com)

Categories
Featured Lawn & Garden

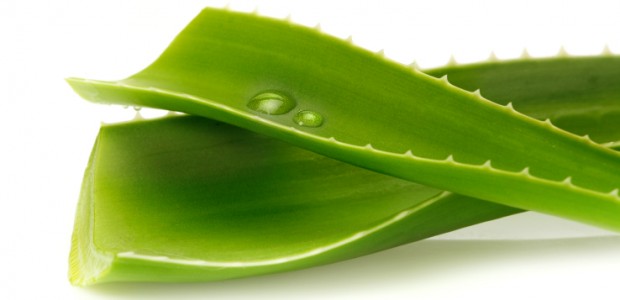
10 Surprising Health Benefits of Aloe Vera

Everyone knows that aloe vera is great for cuts, sunburns and even bug bites. However did you know about all of the plant’s benefits? The aloe vera plant has been nicknamed the “Healing Plant” and there is good reason too! Not only is the aloe plant great for you and your family but it is a very easy plant to keep alive as well; it is a succulent so it doesn’t require a lot of sun and water.  Growing an aloe plant might be one of the best things you could do for you and your family. Here are some health benefits you may or may not have known about aloe vera:

  • Aloe vera is one of the only known natural vegetarian sources of Vitamin B12, and it contains many minerals vital to the growth process and healthy function of all the body’s systems.
  • Aloe vera plants are also helpful in curing blisters, insect bites and any allergic reactions, eczema, burns, inflammations, wounds, psoriasis. It is great for people who have sensitive skin.
  • It is used as an anti-inflammatory and may be taken internally as a remedy for certain digestive complaints.
  • Oxygenates blood and energizes cells, hydrates skin and repairs skin tissue
  • Aloe vera juice helps in strengthens gums and promotes strong and healthy teeth.
  • An excellent internal tonic for energy and well-being Aloe juice may add greatly to the strength of the food fed, digestive tract, skin, and overall good health and happiness.
  • Aloe vera juice can be applied directly to the skin through gels, creams and lotions to cure acne.
  • Aloe vera plant has vitamins including: Vitamins A, B1, B2, B6, B12, C and E, Folic Acid and Niacin. Drinking a daily dose of Aloe Vera Juice can enhance body defense system against any kind of oxidative stress.
  • As Aloe Vera is a cellular regenerator and has anti-bacterial and anti-fungal effects, these properties make aloe vera one of nature’s healthiest products. Being a strong antioxidant, it hunts down free radicals and protects the body.
  • Aloe vera plant has been found to be favorable in the treatment of diabetes; it lowers glucose levels in the blood.
Categories
Featured Lawn & Garden

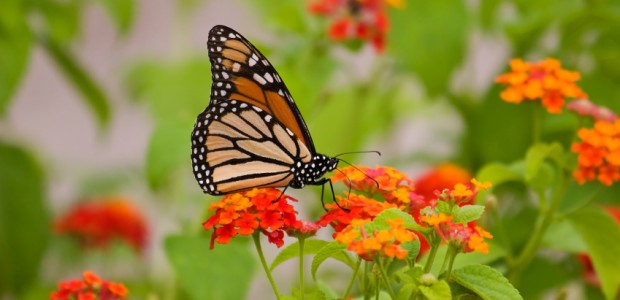
7 Steps to Creating a Butterfly Garden

A butterfly garden is a fun way to get you and your children excited about gardening. Not only is a great educational tool (learning about the life cycles) and good for the environment, but it also is a sight for sore eyes. Here is a quick start guide to creating your very own butterfly garden!

1. Research. As with any major project you have to research and make sure a butterfly garden will work in your area. A good way to do this is by simply observing your surrounding areas and watching to see what plants the butterflies are attracted to. Try to select plants native to your area for each growing season.

2. Plan your Garden. Deciding where you want to plant your garden can be a difficult task. Make sure to plant your garden in a sunny spot and keep in mind if the area has some gusty winds as well as hard rain. If your area has those kinds of conditions put up a barrier to help protect your plants (and your hard work)!

3. Choose “Host Plants”.  Note from your research what the caterpillar (larvae) of the local butterflies eat. Host plants are very important when creating your garden because they not only provide a site for the butterfly to lay eggs but are also a food source for the caterpillars. Depending on the type of local butterflies you have will determine the host plants you should plant. Also be prepared for heavy munching on your host plants!

4. Choose “Nectar Plants”. Nectar plants serve as the food source for the butterfly so it is important to choose plants that will bloom throughout the season (especially mid to late summer) because that is when most butterflies are active. Flowers that have multiple florets and produce a lot of nectar are ideal. Some popular plants chosen are the Butterfly Bush and the Butterfly Weed but make sure to do your research to find what works best in your area.

5. Purchase plants or seeds. You can also get these plants and seeds online. Choose robust and healthy plants to give them a good start.

6. Plant. Make sure to keep new plants and seeds watered until plants are well-established or seeds germinate. Keep the weeds at bay, to give the plants a good chance.

7. Observe and enjoy. Watch for female butterflies laying eggs on host plants. Keep good records for yourself so you can know what to change for the next year! Most importantly enjoy!

Some additional notes. Like any other garden your butterfly garden will require some upkeep but keep in mind that butterflies do not like pesticides of any sort. You are going to have to keep away pests naturally, such as letting spiders and wasps do their thing or use insecticidal soaps or plant-based oils. Make sure that you leave some weeds for the caterpillars (some weeds are actually their favorite foods)!  If you are short on space you can also create a butterfly garden solely using container plants.

Sources: tlc.com (http://tlc.howstuffworks.com/home/butterfly-garden4.htm)

Categories
Eco Tips Featured Lawn & Garden

8 Non-Toxic Methods to Control Pests

Pest control is an important part of keeping a home safe, clean and comfortable. However, it’s also important to choose natural pest control methods that are safe for our health and the environment since people and pets can be sensitive to the harsh chemicals used in commercial sprays. The following eight suggestions for non-toxic pest control use natural means to effectively repel and eliminate problematic pests.

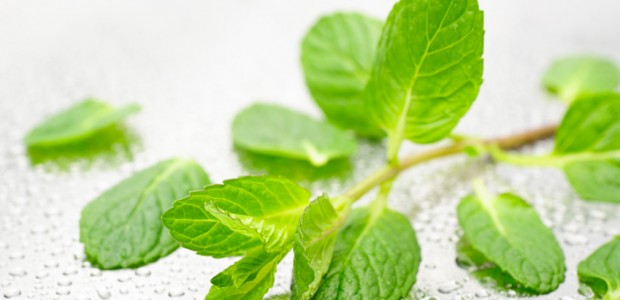
Power of Mint

Mint is an all-powerful pest repellent that can work in both the home and garden to eradicate unwanted insects. This method can easily be implemented by tossing a few mint tea bags anywhere that pests tend to visit. Mint works well against ants, weevils and can be used as a shampoo to deter lice. Place mint in cupboards, pantries and other kitchen areas to prevent kitchen pests.

Spray Vinegar

Vinegar is also a versatile pest control method that is natural and safe enough to be used around anyone. A spray bottle filled with equal parts of vinegar and water can be used to spray carpets to get rid of fleas. Additionally, vinegar can be used as part of the shampoo to eliminate fleas on pets.

Diatomaceous Earth

This pest control method is a powder consisting of finely ground rock that is formed from fossilized diatoms, a type of algae. Diatomaceous earth is safe and proven to be effective in homes and gardens for eliminating ants, cockroaches, bedbugs, fleas and slugs. It is also easy to use and can be sprinkled in areas of the home that can be hard to reach such as corners and behind furniture.

Borax and Sugar

Borax is a mineral salt that can be mixed with sugar to deter ants and other insects such as cockroaches. This mixture can be dissolved in water to make a solution that can be used to soak cotton balls. Then, the cotton balls can be placed near areas of the home that insects use for access such as windows and beneath doors.

Apply Heat

Many common pests can be destroyed with heat. Bedbugs, dust mites and head lice can be controlled by washing and drying bedding, clothing and other washable fabrics in the hottest water available. Boiling water can also be poured into ant beds to eliminate the pests at their source.

Citrus Control

Citrus scents are a wonderful way to deodorize the home, yet citrus fruits also contain chemical properties that are repelling to pests. Orange peels can be boiled in water to create a solution that can then be used on a dog’s fur to eliminate fleas. This same solution can be sprayed on carpets and upholstery. Spraying lemon juice at the point-of-entry to a home for ants is an effective repellent as the ants will not cross over the lemon.

Soapy Water

Simple soap and water can be used safely in a variety of areas of the home to repel pests. This solution makes an ideal cockroach and ant spray. When placed in a shallow dish, soapy water left on the floor can also trap and kill fleas.

Bait and Trap

There are many effective natural ways to trap pests. A bottle of fruit juice or wine can entice fruit flies and gnats into a container. A basic type of flypaper can be made by covering wax paper in a mixture of corn syrup and sugar. Generally, a combination of repellents and traps will be effective for eliminating most pets.

Categories
Featured Lawn & Garden

Which Plants Are Easiest to Care For?

Indoor plants not only add to the décor, but also foster a fresh and energizing atmosphere if kept healthy. In addition, plants can help counterbalance the effects of humidity and electrical radiation. 

The challenge, especially if you lead a busy lifestyle, is proper care and tending. You can get creative with plants by placing them in an unused fireplace or atop high kitchen shelves and ledges.

Below is a list of three low maintenance indoor plants that you can easily incorporate into your eco-friendly living space.

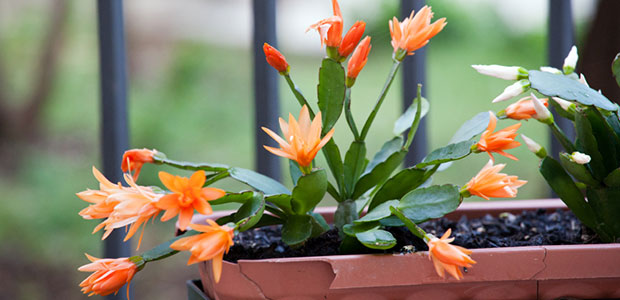
Christmas Cactus. The Christmas cactus can handle low light and infrequent watering.

Pothos. One of the easiest houseplants to grow. The Pothos is tolerant of almost any lighting environment and almost impossible to kill.

Mother-In-Law’s Tongue. Long living plants with sharp pointy leaves that require infrequent watering.